


Class #2: Collagraph Printing

Scott creates a unique mark on his print by writing his name multiple times

Jeremiah here is working on abstractly recreating a chest plate that belongs to a hero in his comic book.

Scott explored reusing his plate after his first print to create another addition in new colors.


Here Scott is working on painting his plate.
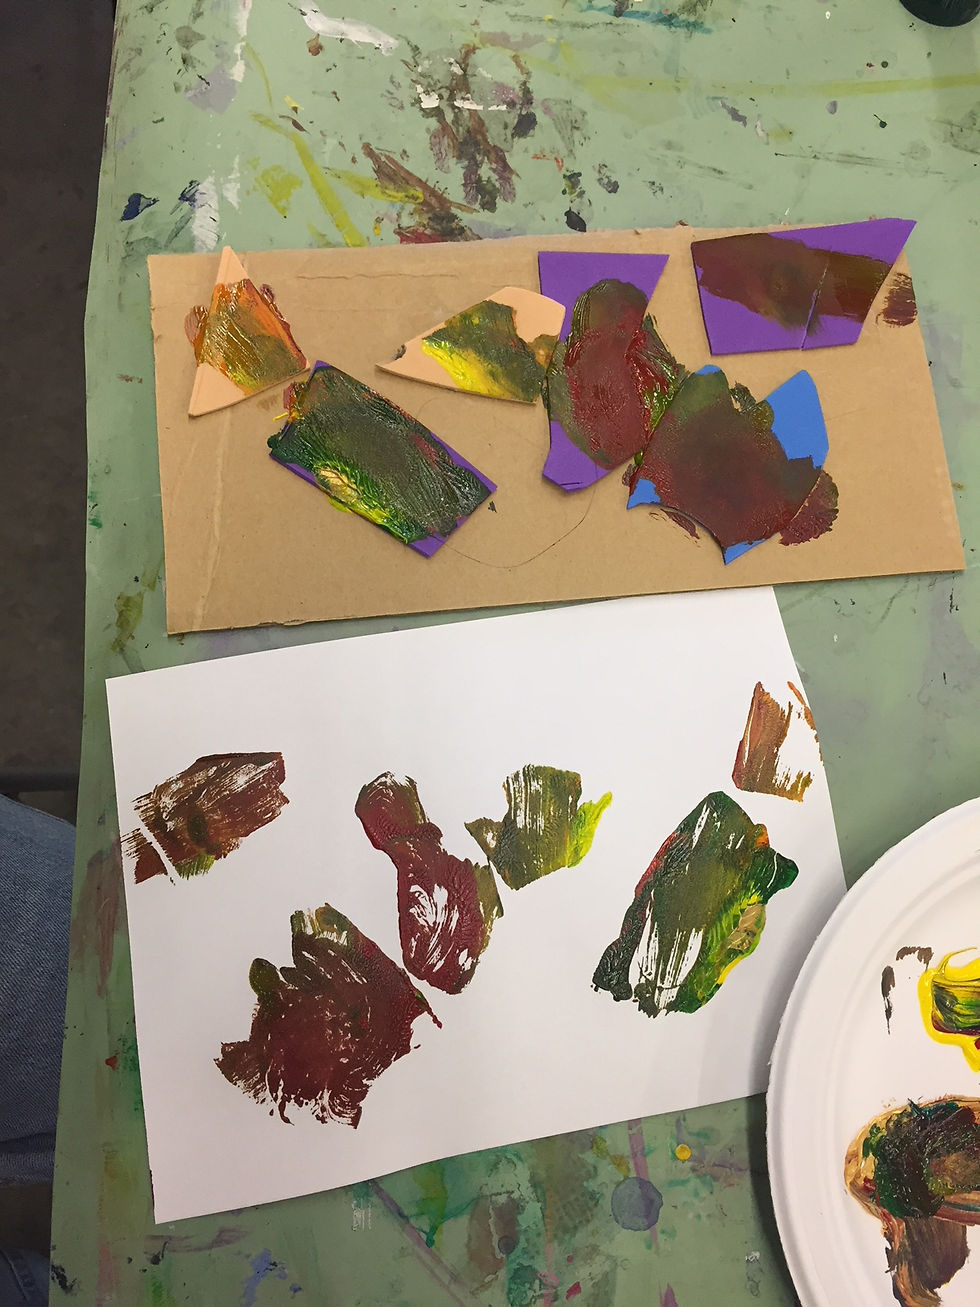
Cale created a second print with new shapes and new colors.

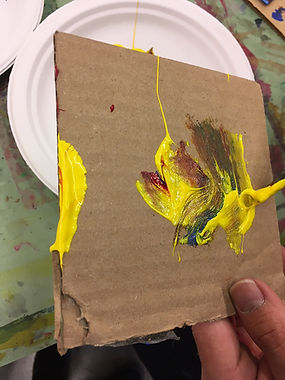
Miah showed experimentation through his art-making process. He glued a square piece of cardboard to the larger piece. He also painted directly onto the cardboard.

By painting directly onto the cardboard, Miah discovered that the black paint created a different texture. He associated his artwork with Black Panther.

Brady was so excited to mix yellow and red to make orange.

After Brady created orange, he also made purple with red and blue. He then discovered that he could print on the same paper multiple times using different colors. Scott's artworks show negative space created by his shapes.

Andy applied globs of paint to his shapes. He applied different colors to the shapes to create a unique effect.

Andy's paint application created textures and new shapes of different colors.
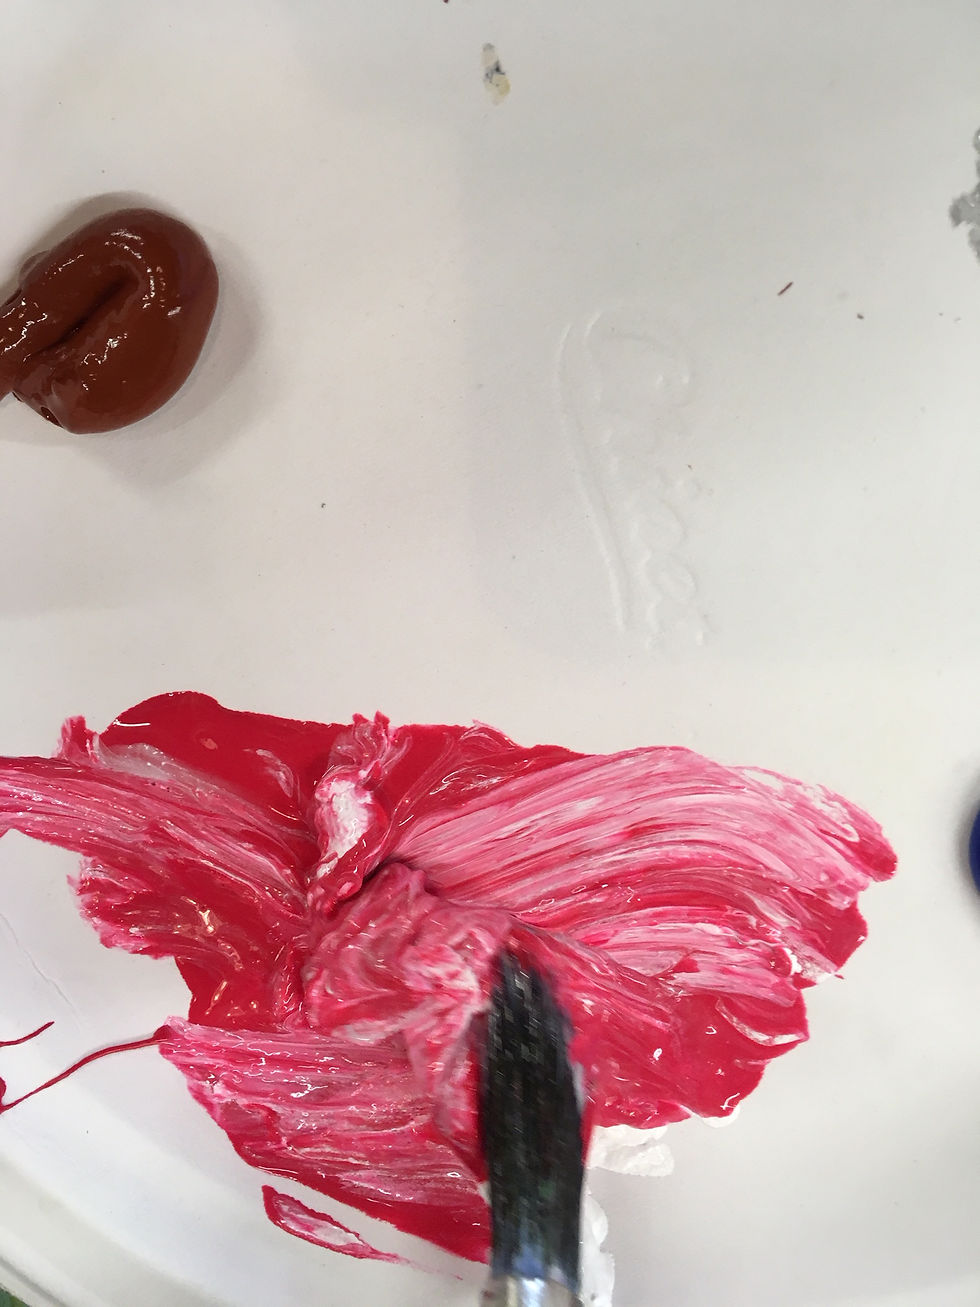
Elli mixed red and white to create pink.

Elli applied her favorite color of pink to the shapes and also used silver.

After printing the pink and silver shapes onto the paper, she added a different texture made from paint applied directly onto the cardboard.
Project Description:
In this lesson, students experimented with how to transform materials and manipulate color, shape, and line to create abstract art. They explored how emotions can be communicated with design elements. Each student engaged in a multi-step process, first creating a cardboard and foam paper design, then applying paint, and finally transferring the image onto paper to create an abstracted collagraph print. In today's art exploration, students used color, shape, and line to to create non-representational forms.
Essential Understanding:
Artists and designers communicate their emotions using visual elements to create non-representational designs.
Objectives/Outcomes:
Students will be able to...
-
Brainstorm colors and shapes into design ideas
-
Use several materials and techniques to envision a collagraph
-
Transfer paint to collagraph to create prints
Skills:
-
Manipulate a variety of materials
-
Envision creating a collagraph as it will transfer onto paper
-
Combine 2-D and 3-D materials/techniques
During our second Community Connections class, students experimented with a new material and printing-process to create abstracted collagraph prints. Students cut out shapes from foam paper and played with how to combine the shapes into a design. Some students played more than others, who pasted their cut-out shapes immediately to their cardboard surfaces. This process allowed students to practice cutting and pasting techniques.
Andy discovered that in addition to using scissors, he could rip the foam paper to create shapes.
After arranging and gluing the foam shapes onto the cardboard, our students applied paint in a variety of ways. Andy made a discovery through accidently dropping his cardboard piece onto his paint palette. "Wow!" exclaimed Andy after seeing what happened when he pick the cardboard up from the paint. After this, he continued to paint it and decided to press his paper on the cardboard.
Students experimented with mixing colors and different ways to apply paint to their collagraphs. Elli applied paint directly to the surface of her foam shapes and explored using a new color. When her classmate Jeremiah observed the color she was using as "gold," Elli described it as "grey" instead.
After applying paint to their collagraphs, students pressed sheets of white paper onto the wet surface of the collagraph. When they pulled the paper off, many students were fascinated at the magical transformation that occurred during the printing process. Some students decided to add even more design elements to their prints after transferring paint from their collagraphs.
The finished works can be seen below. There is a great variety of colors, shapes, and textures created by the students. Everyone took the project in their own direction. When the students were finished with their projects, we arranged all of the prints on a table. We then invited all of the students to gather around the artworks and show off what discoveries they made when creating their works. We talked about color and shape choices, as well as some of the students' decision to make representation images. After each student showed their peers their finished work, everyone clapped and cheered them on.


All Videos


[hover over images for caption]

